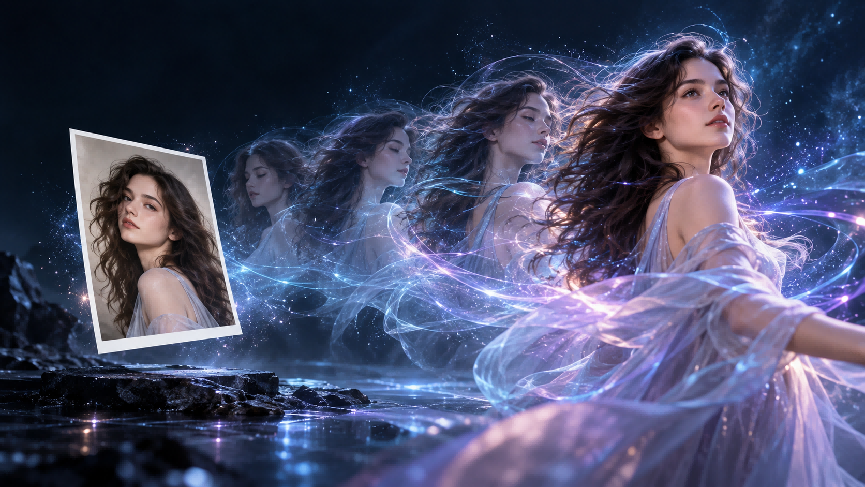
A still picture captures one moment. Animation lets you imagine the next one: a person turns toward the camera, steam rises from a cup, or clouds drift across a landscape. Learn how to animate a picture with AI by uploading an image and describing the motion you want. The result is a short video clip. Before you start, decide what should move and what should remain recognizable. That choice will make your prompt much easier to write.
What Can You Make Move in a Picture?
Learning how to animate images begins with choosing what should move: the subject, the surroundings, or the camera. A person or a detail in the background can move within the scene, while camera movement changes how you see it. You can focus on one type of motion or combine them to draw attention to different parts of the picture. The examples below show what each choice might look like.
Type of motion | What it looks like | Example |
Subject motion | A person or object in the picture moves. | A person smiles or speaks. |
Environmental motion | Something around the subject changes. | Water ripples around a product, or flowers begin to open. |
Camera motion | The view shifts across or toward the scene. | The camera circles a subject or moves from a wider view to a close-up. |
Start with what is visible in your picture. If a person fills most of the frame, a small change in expression or posture can give the clip a clear focus. A wider scene leaves room for movement in the surroundings, such as rippling water or swaying plants. Before writing your prompt, identify what should remain recognizable: a face, a product’s shape, or a distinctive part of the setting.
Then decide whether the camera should move. A slow move closer can draw attention to an expression or product detail, while a wider view can reveal more of the setting. Choose one main action and, if it helps, one supporting movement. These choices give you a specific starting point when you create an AI video from the picture.
For example, consider a lipstick scene. A stream of color moves across a dark background and gathers into a lipstick resting on water. Flowers open and ripples spread around them. The color and surroundings provide the motion, while the lipstick remains the visual focus.
Reference Image @Image | Reference Image @Kling Lipstick | |||
.webp?x-oss-process=image/resize,w_1872) | .webp?x-oss-process=image/resize,w_1872) | .webp?x-oss-process=image/resize,w_1872) | .webp?x-oss-process=image/resize,w_1872) | .webp?x-oss-process=image/resize,w_1872) |
Output Video
| 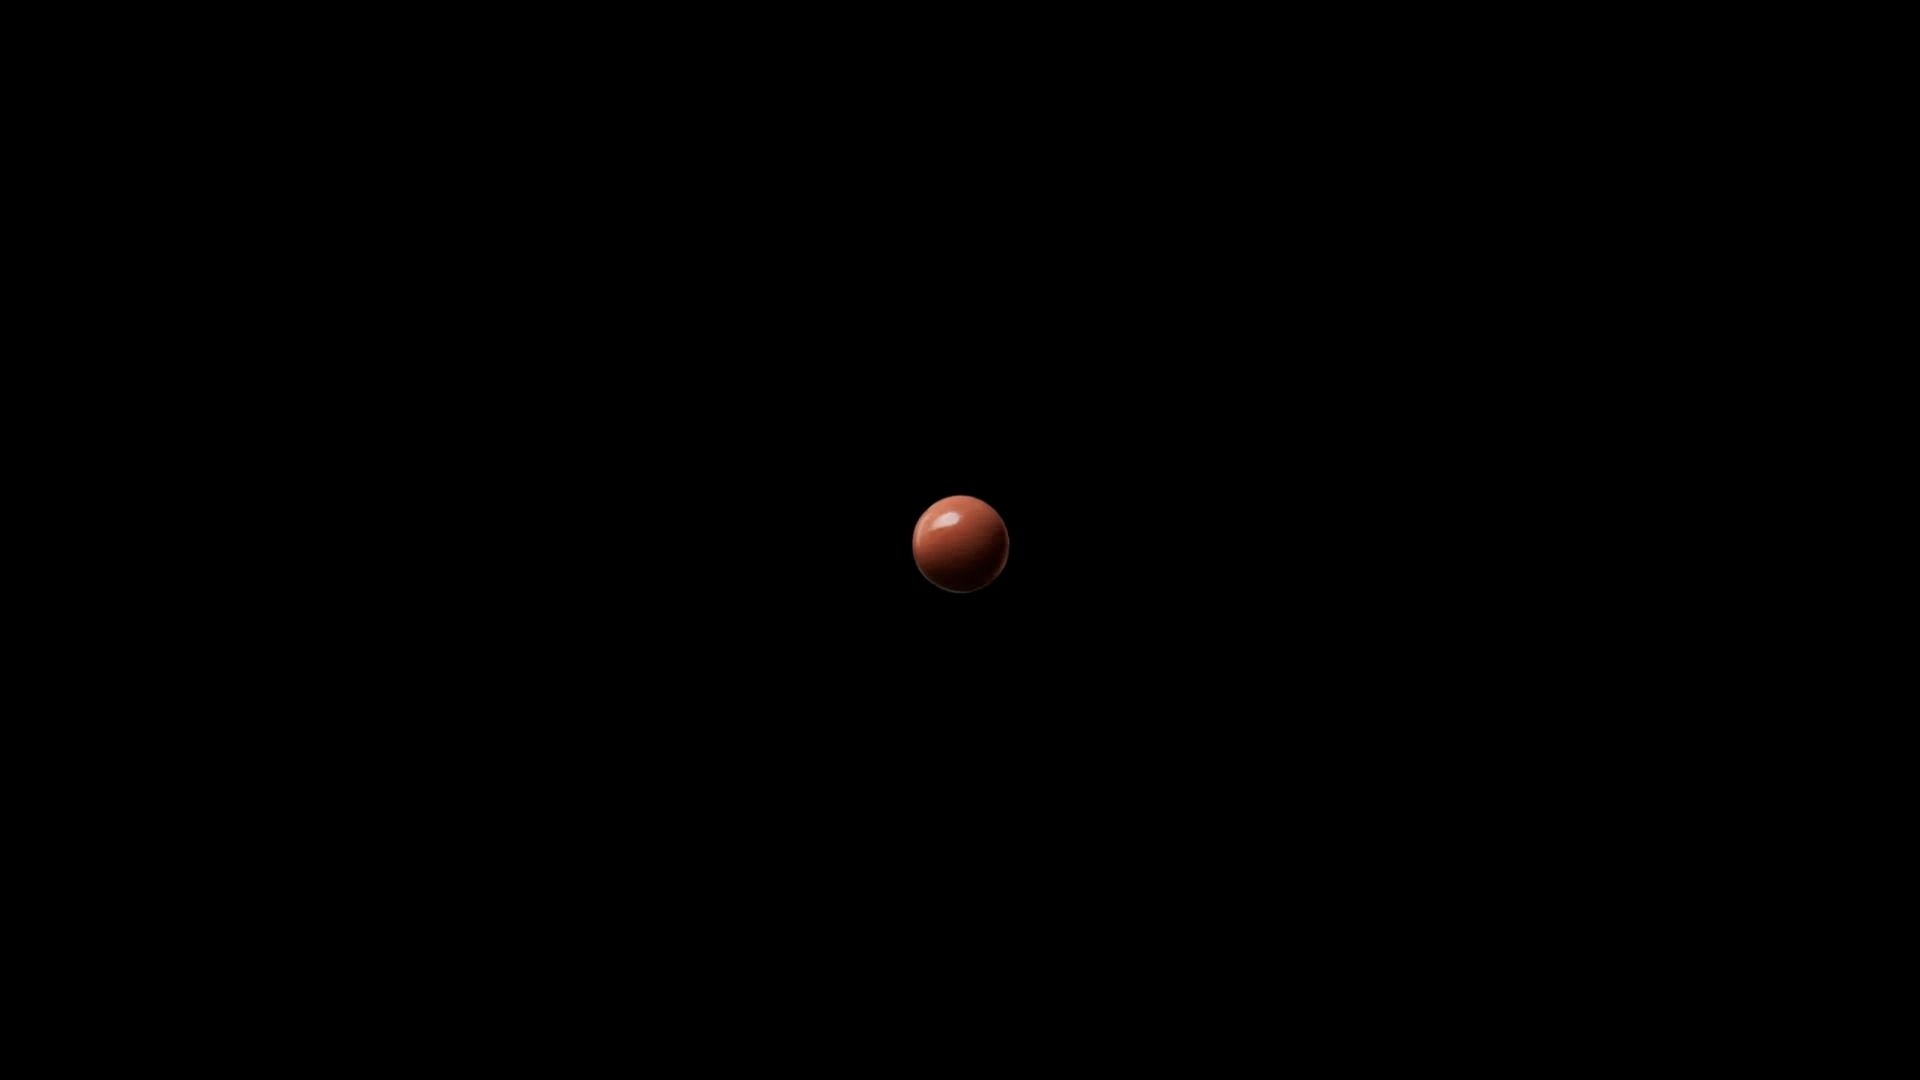  | |||
| Prompt: Pure black background. In the darkness, a river of color—matching the @Kling Lipstick shade—streaks across, leaving a rich, flawless trail. The trail then "comes alive," flowing like liquid and elegantly spreading and blending on the surface to form patterned designs @Image. The color river then gathers into the lipstick bullet of @Kling Lipstick resting on water. Soft water surrounds it with budding flowers that slowly bloom, gentle ripples forming across the surface. | ||||
How to Animate a Still Picture
In an image-to-video workflow, your picture provides the visual starting point, while your prompt describes what happens next. The video workspace lets you switch between available models for different projects; this walkthrough uses Kling VIDEO 3.0 Omni. Its element references can help keep recurring people recognizable, while multi-shot prompts let you plan changes in camera view. The steps below begin with one picture, then move to a more detailed two-character example.
1. Upload Your Picture
Open the Kling VIDEO 3.0 Omni workspace and upload the picture you want to animate. Use it as the Start Frame when you want the video to begin from that exact image, and add an End Frame if you also want to guide how the clip finishes.
If you want a person or object to stay recognizable across multiple shots, you can also add it as an Element reference. In VIDEO 3.0 Omni, Elements help maintain the identity and visual characteristics of recurring subjects as the scene, action, or camera view changes.
2. Describe the Motion
Write a prompt describing the action you want to see. With text-to-video, the prompt establishes the scene without a starting image; here, your image or element references provide visual details. You can include:
- The subject's action: Who or what moves, and what do they do?
- The setting: Which details matter to the scene?
- The camera's movement: Should it stay fixed, pan, or move closer?
- Details to preserve: Which clothing, colors, objects, or background features matter?
For a single portrait used as the start frame, you could begin with: “The person turns toward the camera and smiles. The camera slowly moves closer. Keep their face, clothing, and background recognizable.”
The nighttime street example below is more detailed. Two character elements guide the man’s and woman’s appearances, while a timed prompt sets out their actions, dialogue, and changes between shots.
3. Set the Duration and Generate
Choose a duration that gives the action enough time to unfold. Kling VIDEO 3.0 Omni supports up to 15 seconds in a single generation. If you use Custom Multi-Shot, assign each shot a duration and describe its action and framing. The timings should add up to your selected clip length. Timed, shot-by-shot prompts are also supported in Kling Video 3.0. A single action does not need a shot-by-shot breakdown.
Give each shot its own instruction in the prompt, then generate the clip. If you enable native audio, add any spoken lines and background sound cues. For a silent animation, you can leave audio off.
The following example uses two character elements as appearance references, followed by a five-shot prompt and the generated video. The shot timings add up to 15 seconds:
4. Review and Refine the Result
Watch the clip from beginning to end. Check whether the intended subject moves, whether important details remain recognizable, and whether the camera follows your instructions. In the neon-lit street example, check whether the woman’s close-up appears after the man’s and whether both faces remain recognizable as the shots change. If a shot is missing, make that part of the prompt more explicit.
If the opening shot must match your original picture, check that you used it as the start frame. Once the motion works for your purpose, download the video.
Element/reference Image | |||
@image .png?x-oss-process=image/resize,w_1872) | Element 1 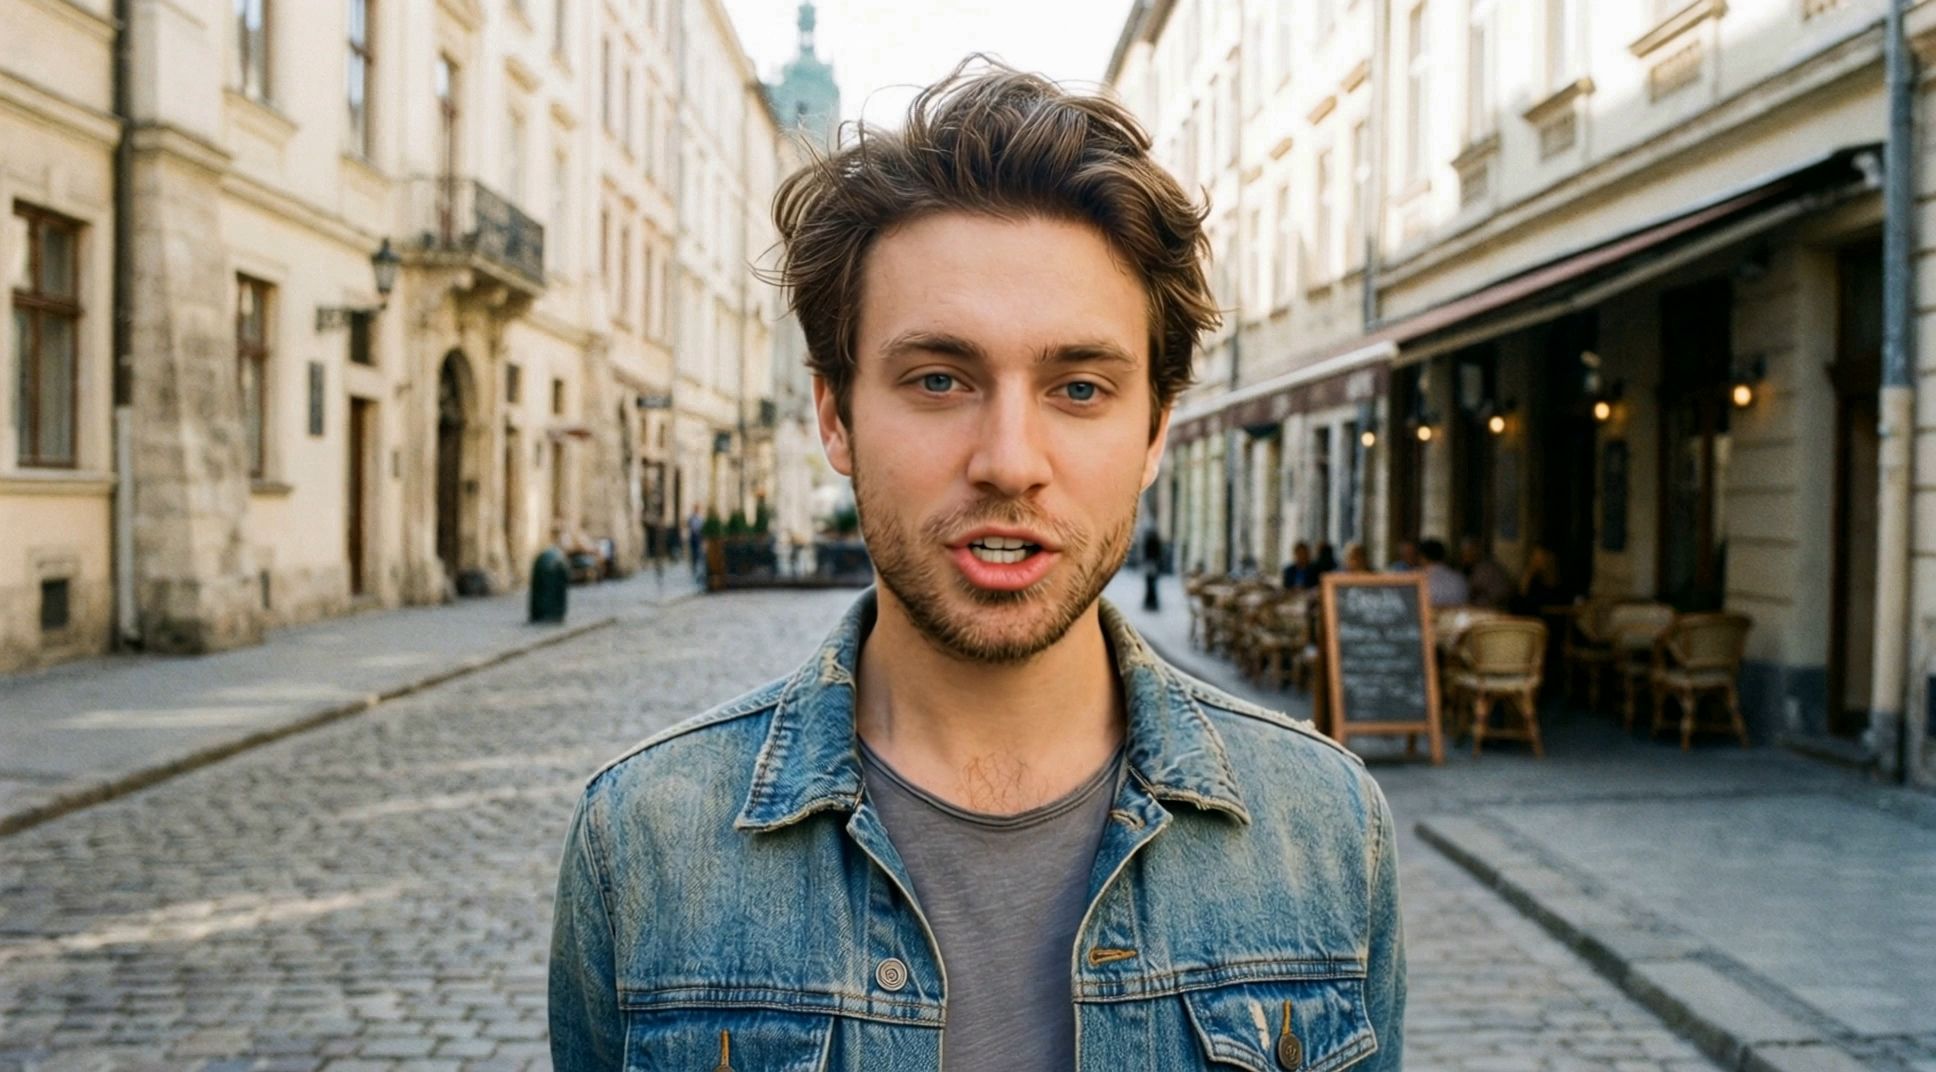 | Element 2 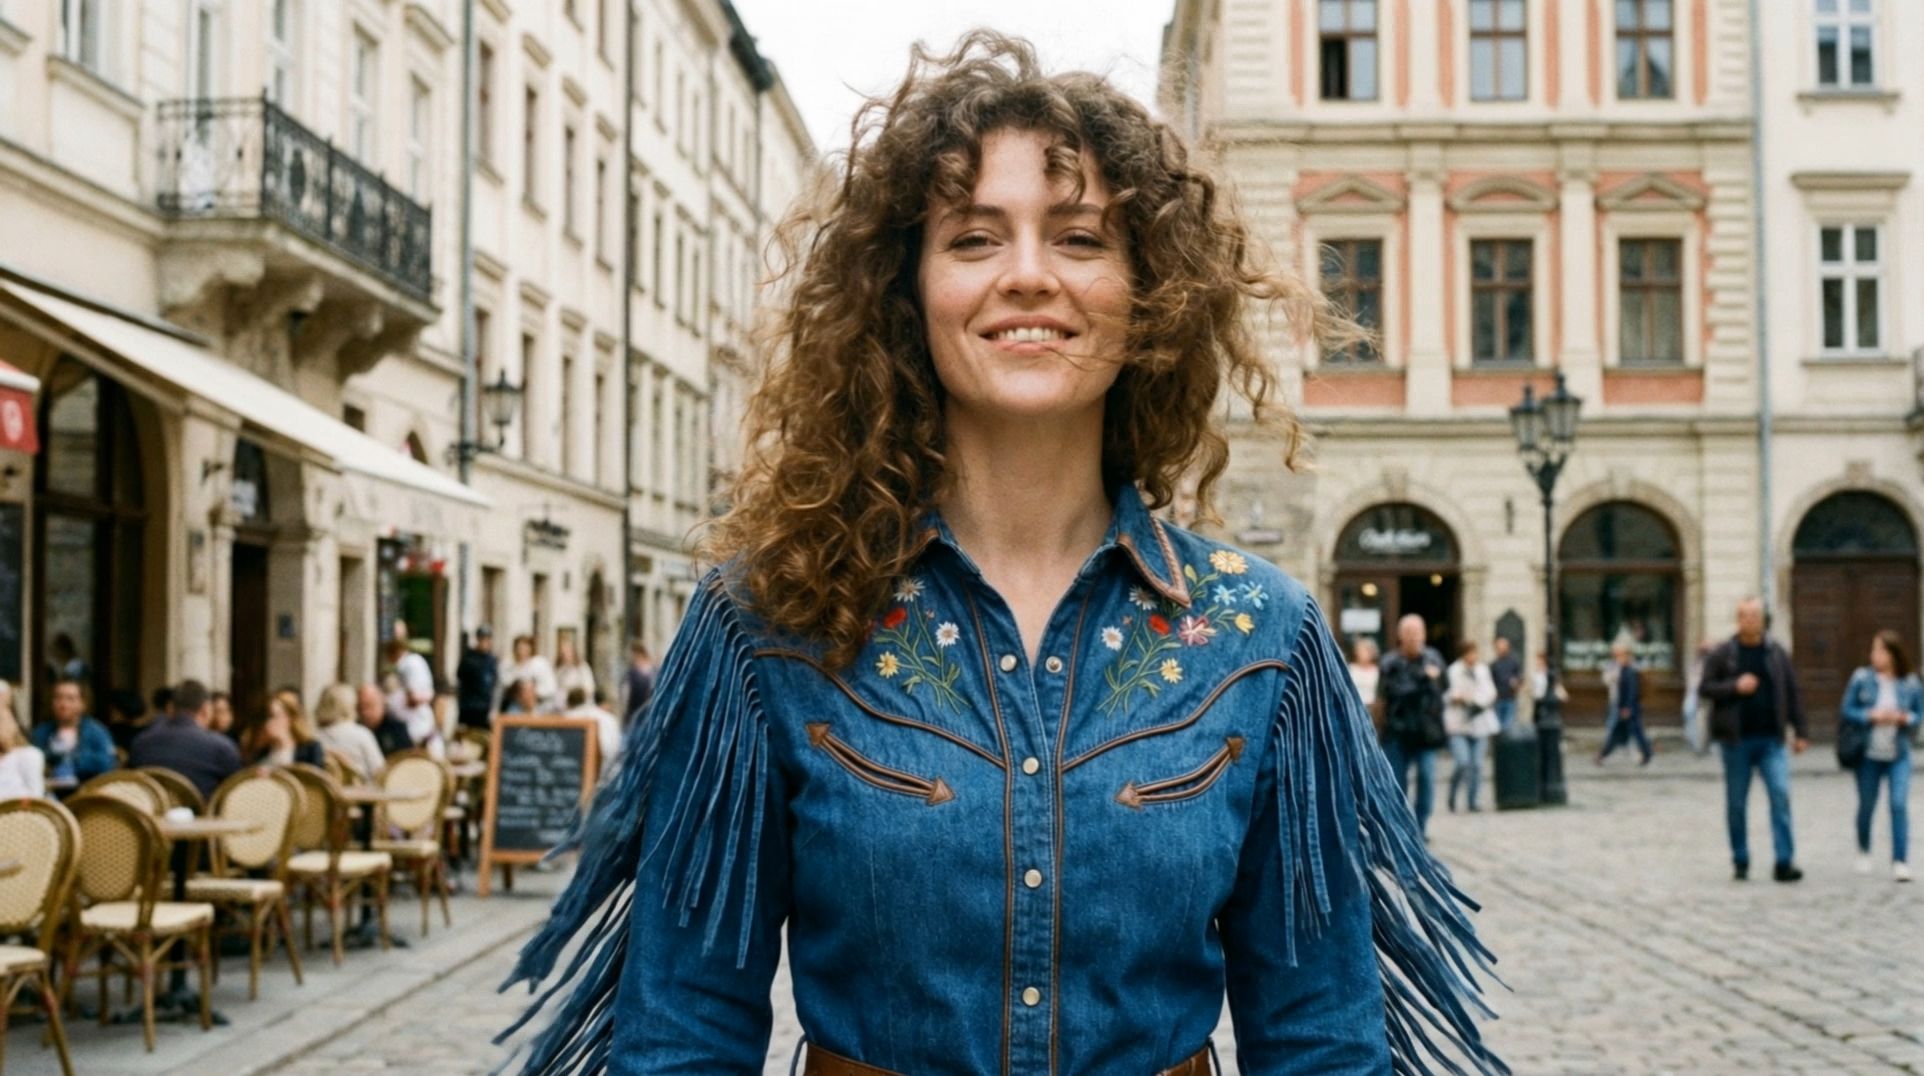 | |
Prompt: Shot 1 (1s): Mike and Cindy sit face to face on the seats of an old green train, the train moving forward. Shot 2 (2s): Cut to a close-up of Cindy's profile. She rests her chin on her hand, looking out the window, asking, "Where are we about to go?" Shot 3 (3s): Cut to a close-up of Mike's face. He looks at Cindy and says, "We are about to go to a place where it is summer all year round." Shot 4 (2s): Cut to Cindy turning around, looking at Mike, smiling and nodding, saying, "I love summer." Shot 5 (2s): Cut to a wide shot of the two facing each other, smiling at one another. | |||
Generated video | |||
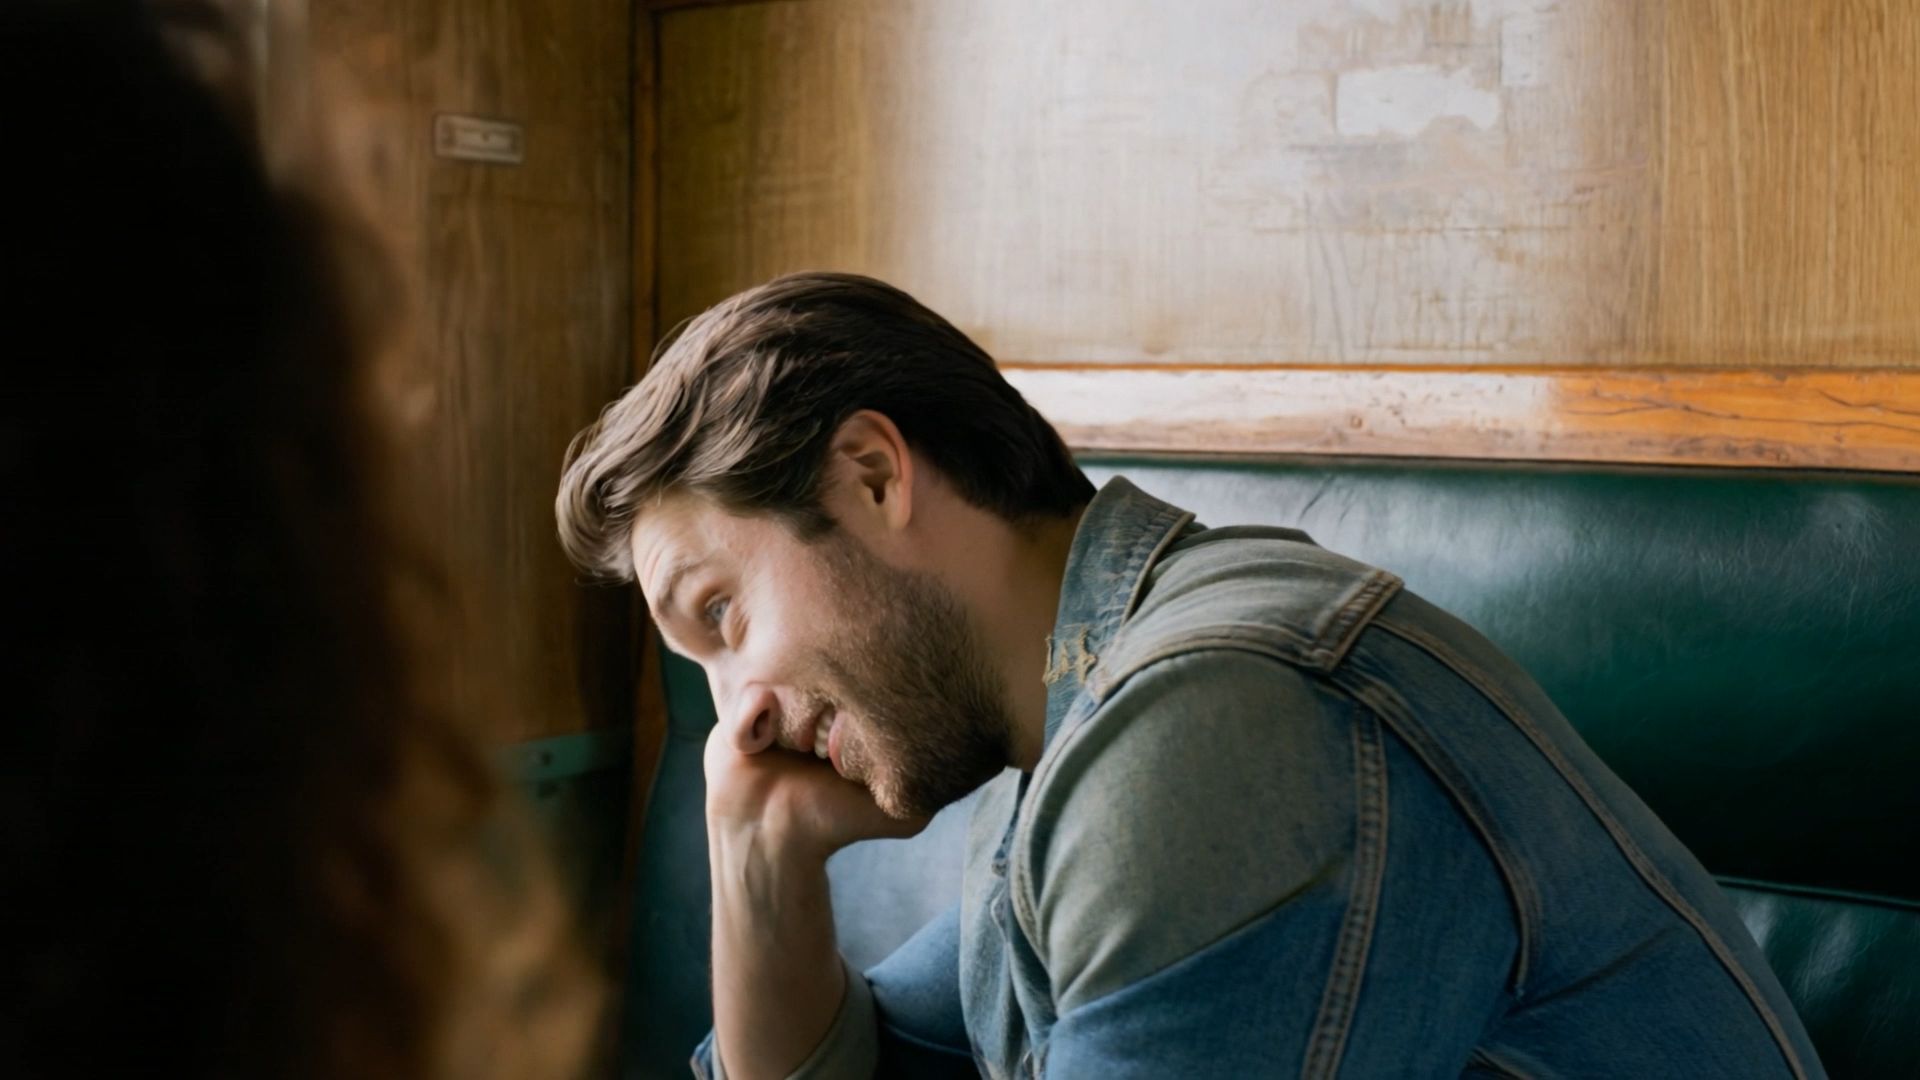 | |||
How to Fix Common Animation Problems
If the first result feels off, look for the part of the video that differs from your instruction. Then make one targeted change.
What you notice | What to try |
The main subject barely moves. | Name the subject and give it a visible action, such as turning, walking, or reaching. |
The whole frame moves when you wanted only one detail to move. | Specify that the camera and background should stay still. Describe the single detail that should change. |
A face or object changes appearance. | Try a clearer image and name the features you want to preserve. |
The opening shot does not match your picture. | Check whether you supplied the image as a start frame rather than only as a visual reference. |
For a character action that needs to follow a specific performance, AI motion control uses a character image and an action reference video or a motion from the library in a separate workflow.
Kling VIDEO 3.0 Omni also supports element references for subjects you want to reuse across videos. For a single short clip, start with the picture and prompt; add more references if the scene needs them.
The End
Now that you know how to animate a picture, start with one image and one clear motion to test. Watch how the subject and camera behave in the first clip, then refine your prompt where the movement does not match your idea.
FAQs
Can AI Animate a Photo?
Yes. AI can use a still photo to generate a short video in which a person, the surroundings, or the camera appears to move. You might make someone turn toward the camera or add subtle movement to the background. Because the video includes frames that were not in the original photo, review the result to see whether important details still look recognizable.
How Do I Animate an Existing Picture?
Upload your picture and describe what you want to happen in the video. Use it as the start frame if the opening must match that picture; a reference image can guide the look of a scene without necessarily becoming its first frame. You can begin with one picture and one action before attempting a longer sequence.
How Can I Turn an Image Into an Animation?
If you mean a moving video, upload the image to an image-to-video tool, describe the motion, and generate a clip. You can then download the result for a post or another video project. If you specifically need an animated GIF, convert the finished video to GIF separately; this walkthrough produces a video clip.
Can I Animate a Drawing or Illustration?
Yes. You can use a sketch, line drawing, or illustration as the input image. Describe what should move and mention the parts of its style you want to keep, such as ink lines, flat colors, or shading. After generating the video, check whether those details remain recognizable as the scene moves.
Which Image Formats Can I Upload?
Kling VIDEO 3.0 Omni accepts JPG, JPEG, and PNG images. According to its guide, each image must be at least 300 pixels in both width and height and no larger than 10 MB. If an upload fails, check the file format, dimensions, and size before changing your prompt.
Can I Animate an AI-Generated Image?
Yes. An AI-generated picture can be the starting image for a video, whether you made it in Kling or elsewhere. If you want the clip to open on that composition, use the picture as the start frame. For an invented character or object, describe the features you want to remain recognizable as it moves.