Longer AI videos give a story more room to develop, but they also introduce a new challenge: keeping every important moment on track. A character may need to enter at a specific point. A product reveal should happen after the setup, not before it. The final shot may need to land on an exact composition.
Kling 4.0 addresses this with Multiple Keyframes. Instead of defining only how a video begins and ends, you can set several visual milestones along the timeline and give the model clearer direction on how the video develops. Here’s how to use them effectively.
The all-new Kling 4.0 will officially launch in October. As part of the Kling 4.0 lineup, Kling 4.0 Flash became available to a limited group of users for early access on September 28.
What Are Multiple Keyframes in Kling 4.0?
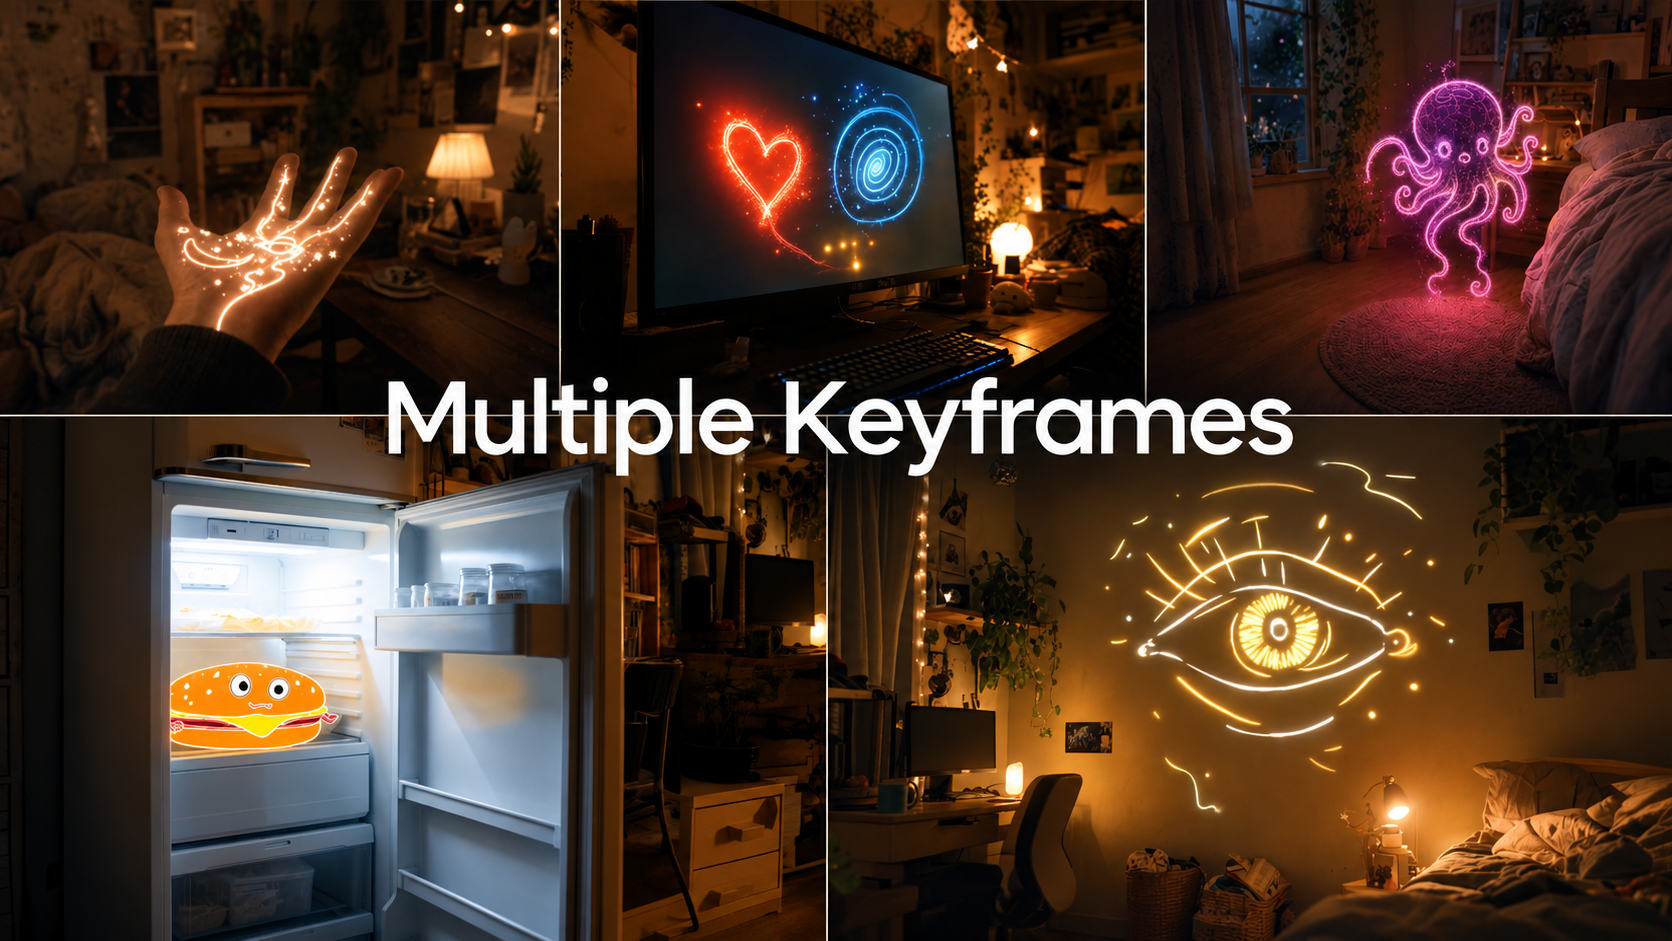
Multiple Keyframes let you define important visual states at different points within a Kling 4.0 video.
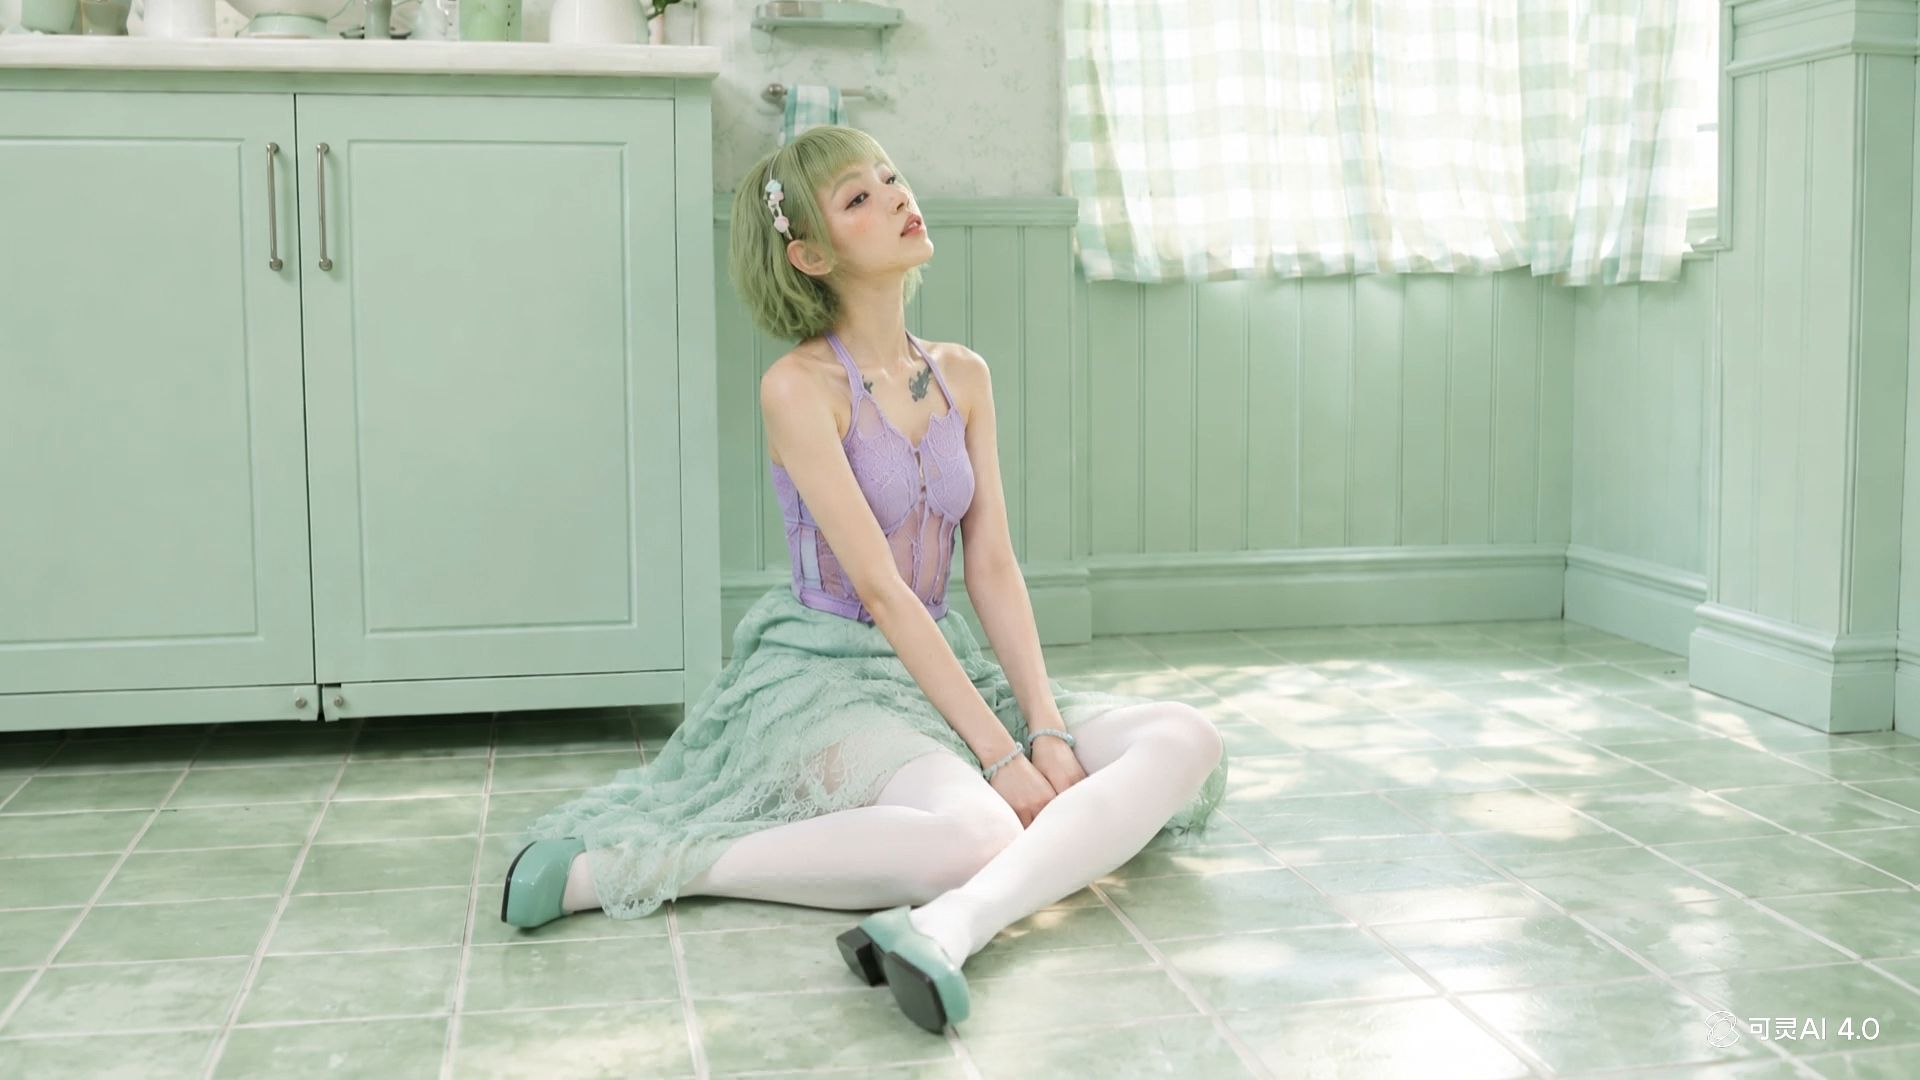
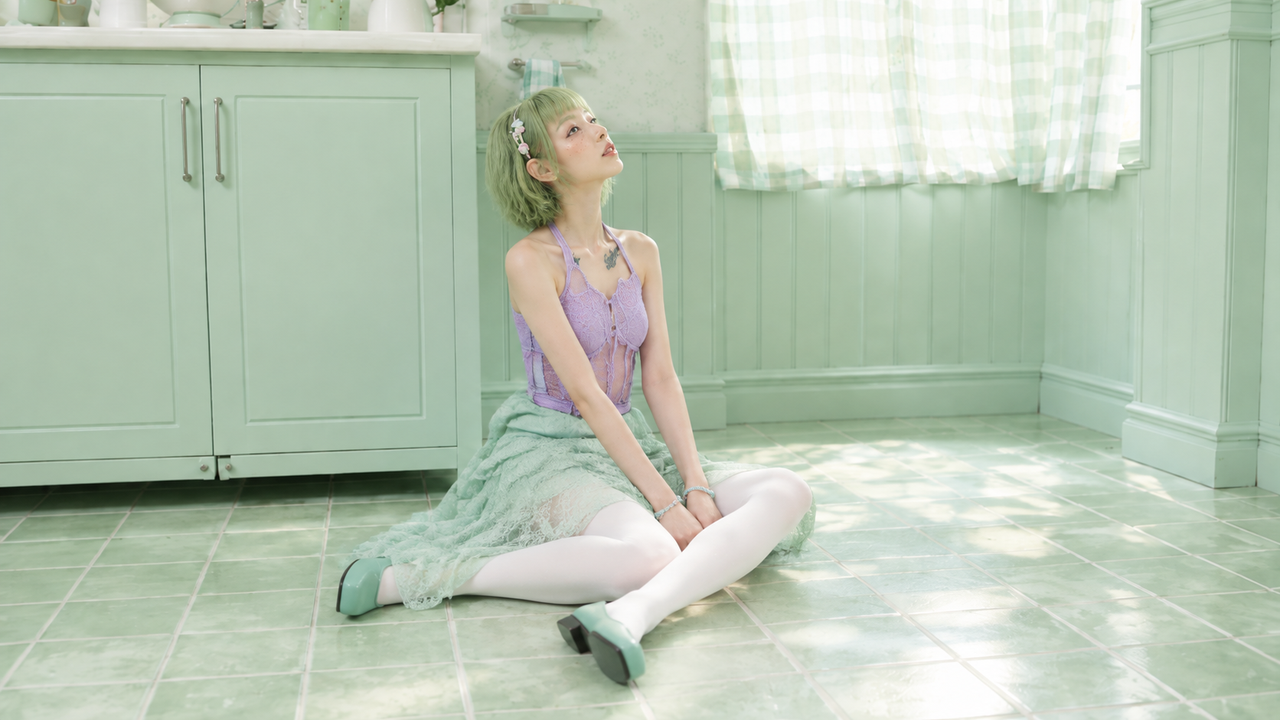
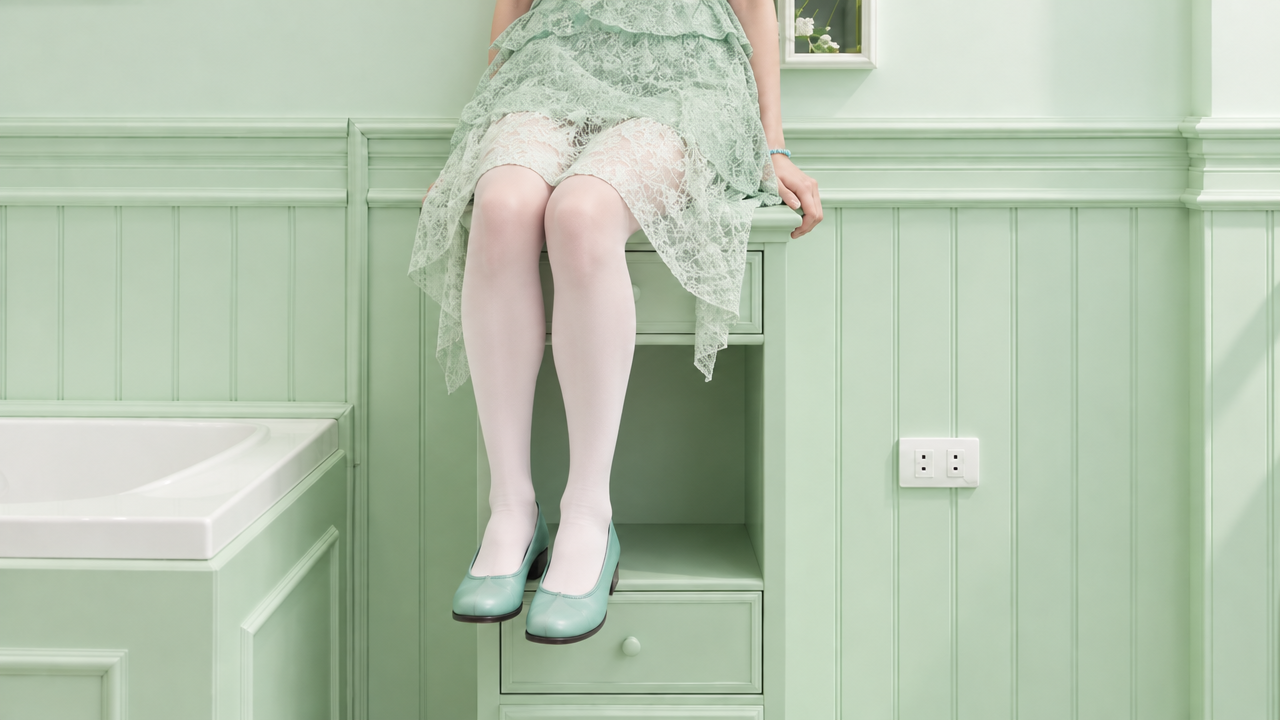
Kling 4.0 supports up to 10 keyframe images in a single generation. Each keyframe can represent a moment you want the video to reach, such as a new character state, a scene change, a product reveal, or an important story beat.
Think of them as visual anchors along the timeline. A simple video might only need a start and end frame. A more complex 30-second sequence could use several keyframes to guide how the story develops between those two points.
For example: Character enters → Product appears → Product is used → Scene changes → Final hero shot
The model then generates the movement, transitions, and visual progression between those key moments. Multiple Keyframes are especially useful when the order and timing of events matter.
Keyframe | Generated Result |
.png?x-oss-process=image/resize,w_1872) | 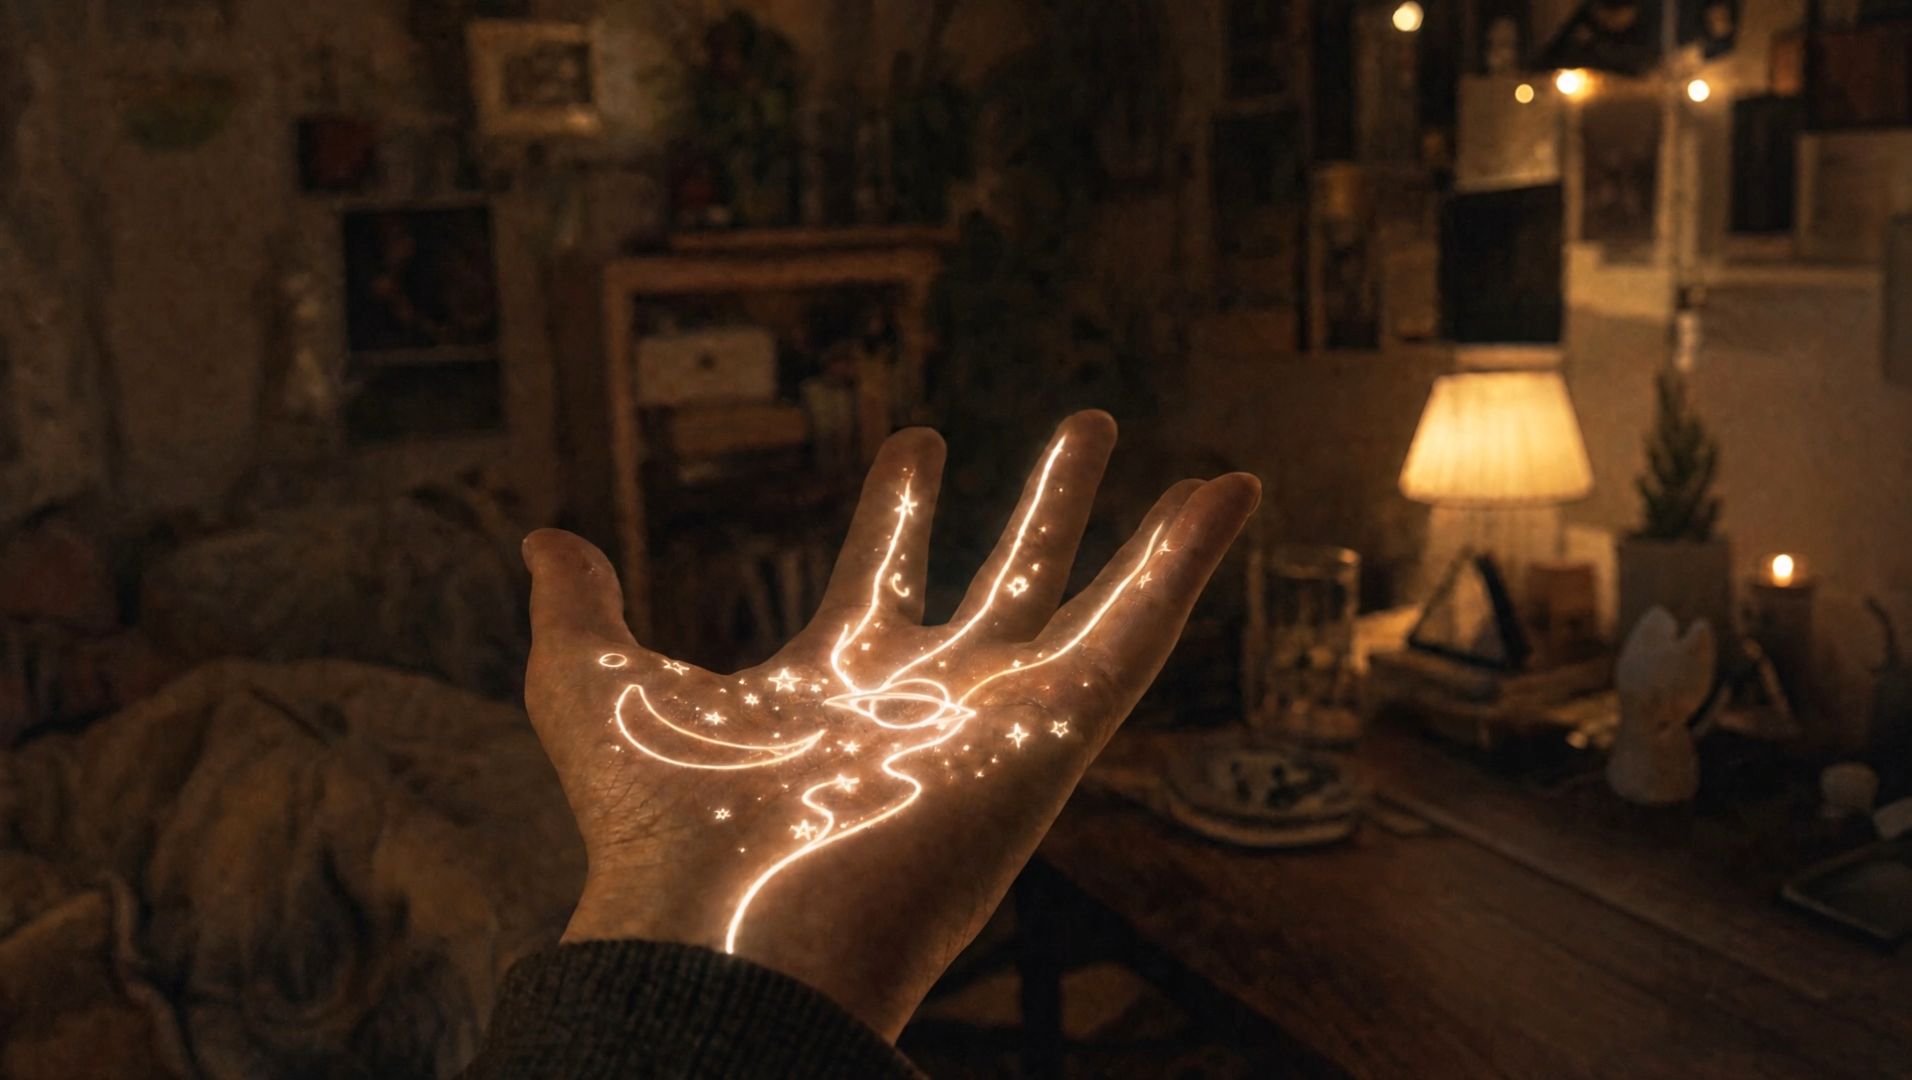  |
The all-new Kling 4.0 will officially launch in October. As part of the Kling 4.0 lineup, Kling 4.0 Flash became available to a limited group of users for early access on September 28.
Why Keyframes Matter More in a 30-Second Video
Kling 4.0 supports native video generation from 3 to 30 seconds. The extra duration gives creators more room for dialogue, character interaction, product demonstrations, camera movement, and scene development. But a longer timeline also creates more opportunities for the sequence to move away from the intended structure.
Imagine a 30-second product ad. You may want the opening seconds to establish the setting, introduce the product around the middle, show it in use, and finish with a clean product shot. Without clear visual milestones, some of those events may happen too early, too late, or in a different order. Multiple Keyframes help define that structure.
Instead of asking the model to interpret the entire timeline from one prompt, you can give it several concrete visual states to work toward. That makes keyframes less about adding more images and more about controlling how a longer video progresses over time.
Keyframe | |||||
|
|
|
|
|
|
Generated Result | |||||
 | |||||



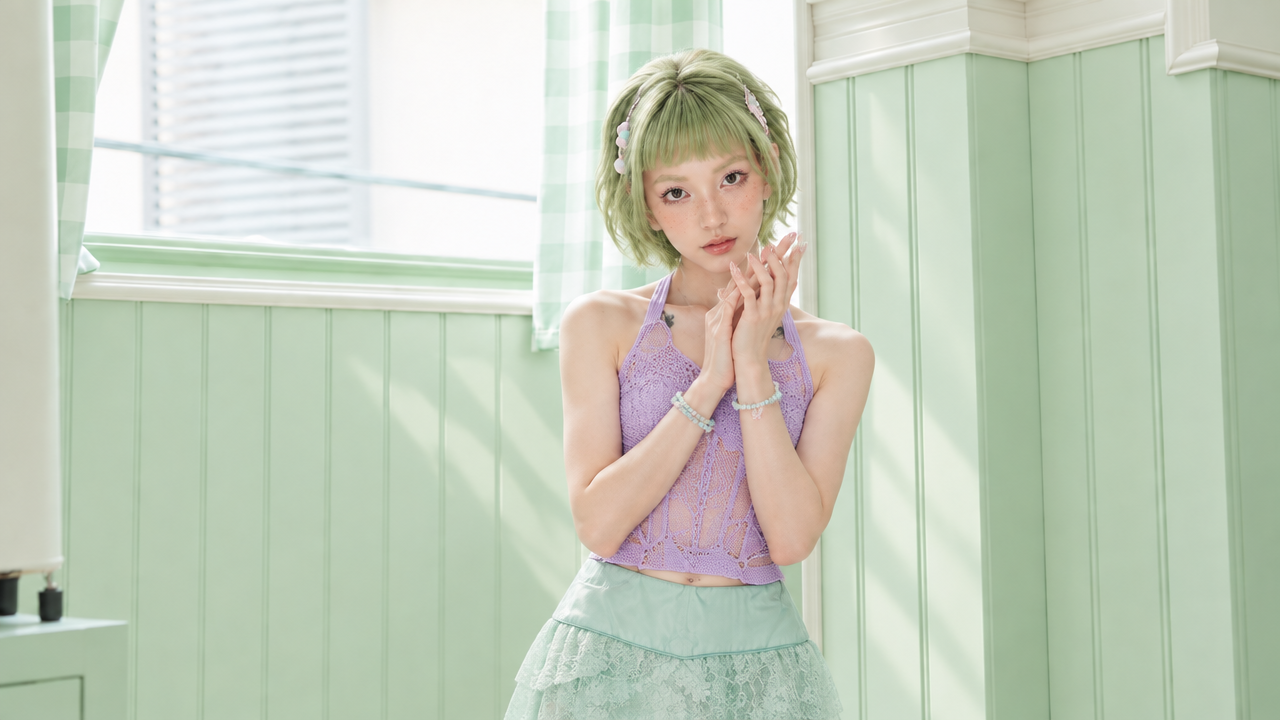
How to Plan Keyframes Before You Generate
You do not need to use all 10 keyframes every time. A better approach is to identify the moments where the visual state of the video genuinely needs to change. For a 30-second product video, your plan might look like this:
Time | Keyframe Purpose |
0s | Establish the character and setting |
6s | Introduce the product |
12s | Move into product use |
20s | Shift the scene or camera angle |
28s | Finish on the final product hero shot |
Each keyframe should answer a simple question: What must the viewer see at this point in the video?
If nothing important changes, you probably do not need another keyframe. Too many unnecessary keyframes can make the sequence harder to direct. Use them where they help define the story, not simply because the model supports up to 10.
3 Ways to Use Multiple Keyframes
Build a Product Ad Around Clear Visual Beats
Product advertising often follows a structured sequence. For example: Lifestyle opening → Product reveal → Feature demonstration → Product in use → Closing hero shot
Each stage can be represented by a keyframe. This helps control when the product appears, how the environment changes, and what the final composition should look like.
For brands, keyframes can also help maintain a more deliberate visual structure across a longer advertisement instead of relying on one prompt to determine the entire sequence.
Control Story Progression in a Short Narrative
Keyframes can also guide narrative videos. Imagine a character walking into an empty room, discovering an object, reacting to it, and then entering a completely different environment. You could define:
The opening location
The discovery moment
The character reaction
The transition
The final scene
The prompt explains what happens between these moments, while the keyframes establish where the story needs to arrive.
This is particularly useful when character states or environments need to change in a specific order.
Direct Character, Scene, or Style Changes
Not every keyframe needs to represent a new shot. They can also guide changes within the same creative concept. For example:
A character changes clothing.
Day transitions into night.
A clean studio becomes a futuristic environment.
A product moves from packaging to an in-use scene.
A realistic visual gradually shifts into another style.
By defining the important states visually, you can give Kling 4.0 clearer direction over how those changes should develop.
The all-new Kling 4.0 will officially launch in October. As part of the Kling 4.0 lineup, Kling 4.0 Flash became available to a limited group of users for early access on September 28.
Use Multiple Keyframes With Omni Reference
Keyframes become more useful when combined with Kling 4.0’s Omni Reference. The two capabilities solve different creative problems:
Keyframes define when something should change.
Omni Reference helps define what should stay consistent.
For example, you could use:
Character reference: Keep the same face, clothing, and identity.
Product reference: Preserve product shape, color, materials, and branding.
Video reference: Guide motion, performance, camera movement, or pacing.
Keyframes: Define when important scene or story changes should happen.
Kling 4.0 supports up to 15 combined reference assets in a single task, including images, videos, subjects, and voice references. That means a keyframe does not need to carry every creative detail by itself. A product reference can define what the product looks like, while a keyframe determines when it appears. A character reference can maintain identity, while keyframes guide changes in location or action. This separation makes complex sequences easier to plan.
Multi-Character Reference Images | Generated Result |
.webp?x-oss-process=image/resize,w_1872) | 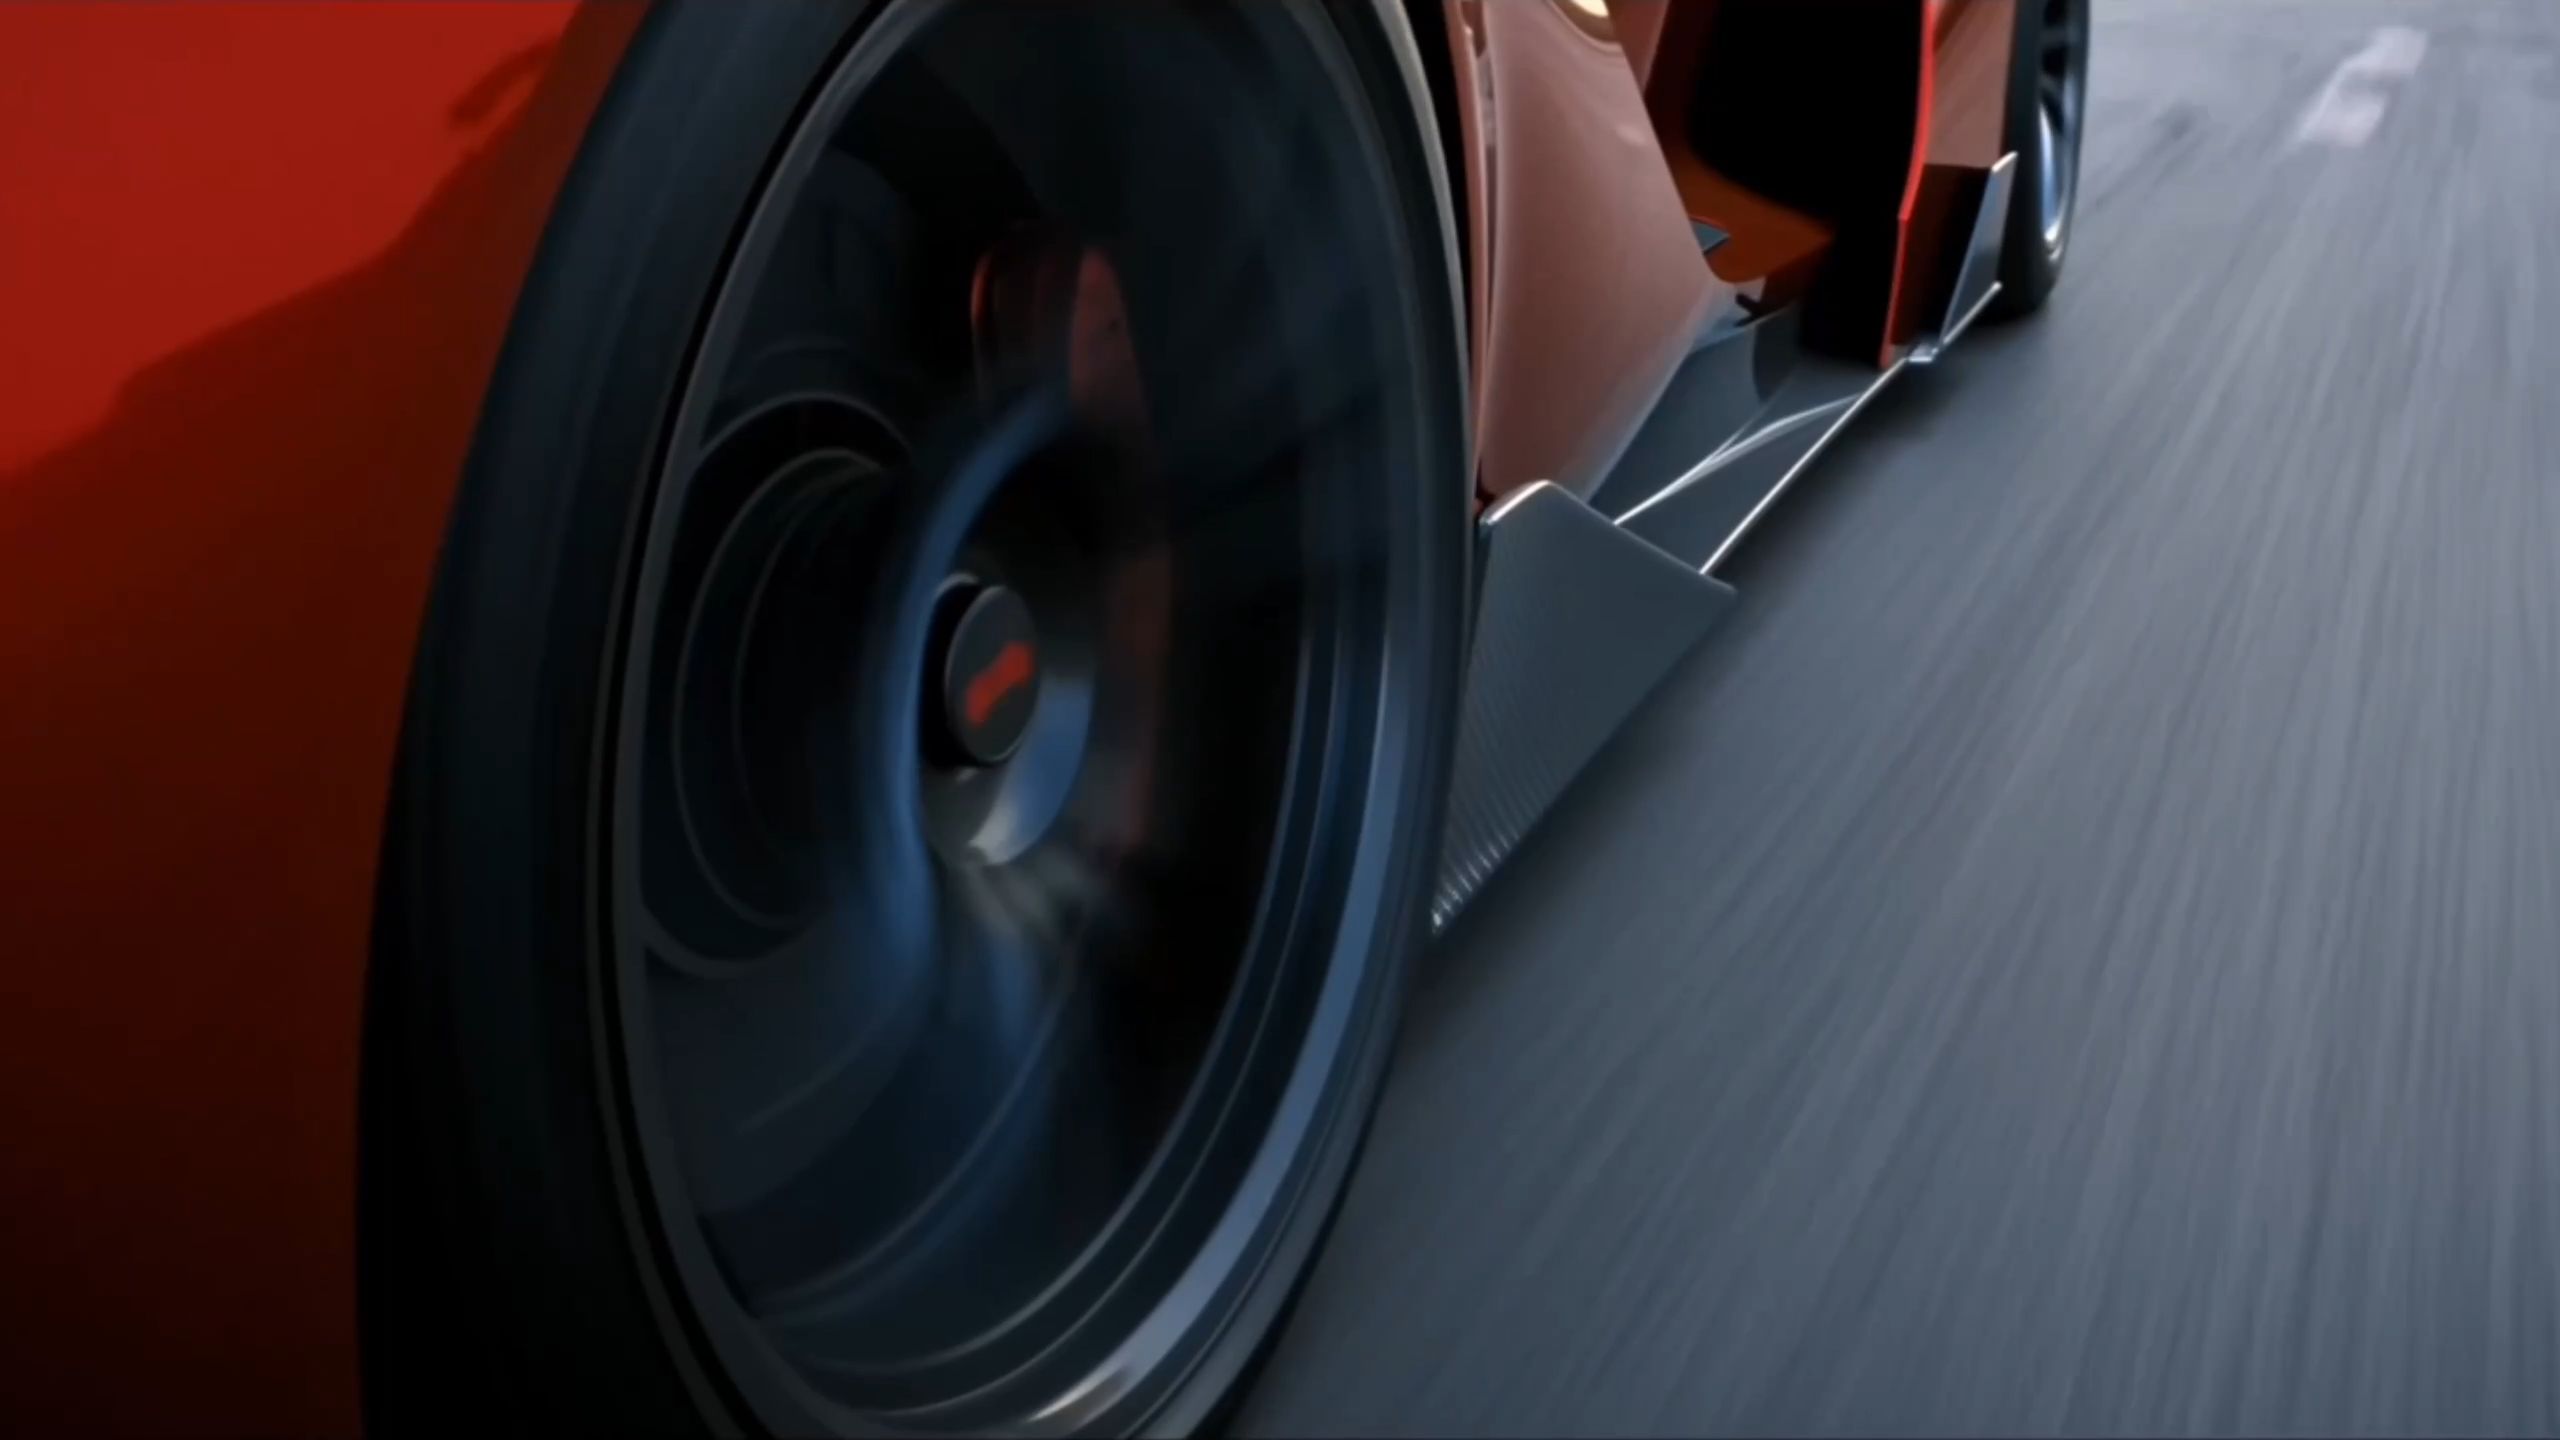 |
| Prompt: A director guides the actors while filming a high-speed chase between a supercar and a motorcycle. | |
The all-new Kling 4.0 will officially launch in October. As part of the Kling 4.0 lineup, Kling 4.0 Flash became available to a limited group of users for early access on September 28.
Write Prompts Around the Timeline
Keyframes provide visual anchors, but the prompt still explains what happens between them. For longer videos, it can help to write the prompt around the progression of the timeline. For example:
0–5s: Establish a modern kitchen at sunrise. A woman enters the frame and walks toward the counter.
5–12s: She notices the product, picks it up, and examines it while the camera slowly moves closer.
12–20s: She begins using the product. Keep the movement natural and maintain the same character and product appearance.
20–27s: Shift to a closer angle as she reacts positively to the result.
27–30s: End on a clean product hero shot with soft lighting.
Kling 4.0 supports prompts up to 8,000 tokens, so creators can provide much more detailed instructions when a project requires them. But longer does not always mean better. Use the prompt to explain actions, transitions, camera movement, pacing, dialogue, and sound that cannot be communicated through the keyframes alone.
A useful rule is: Keyframes show the important moments. The prompt explains how the video moves between them.
Keep Keyframes and References Working Together
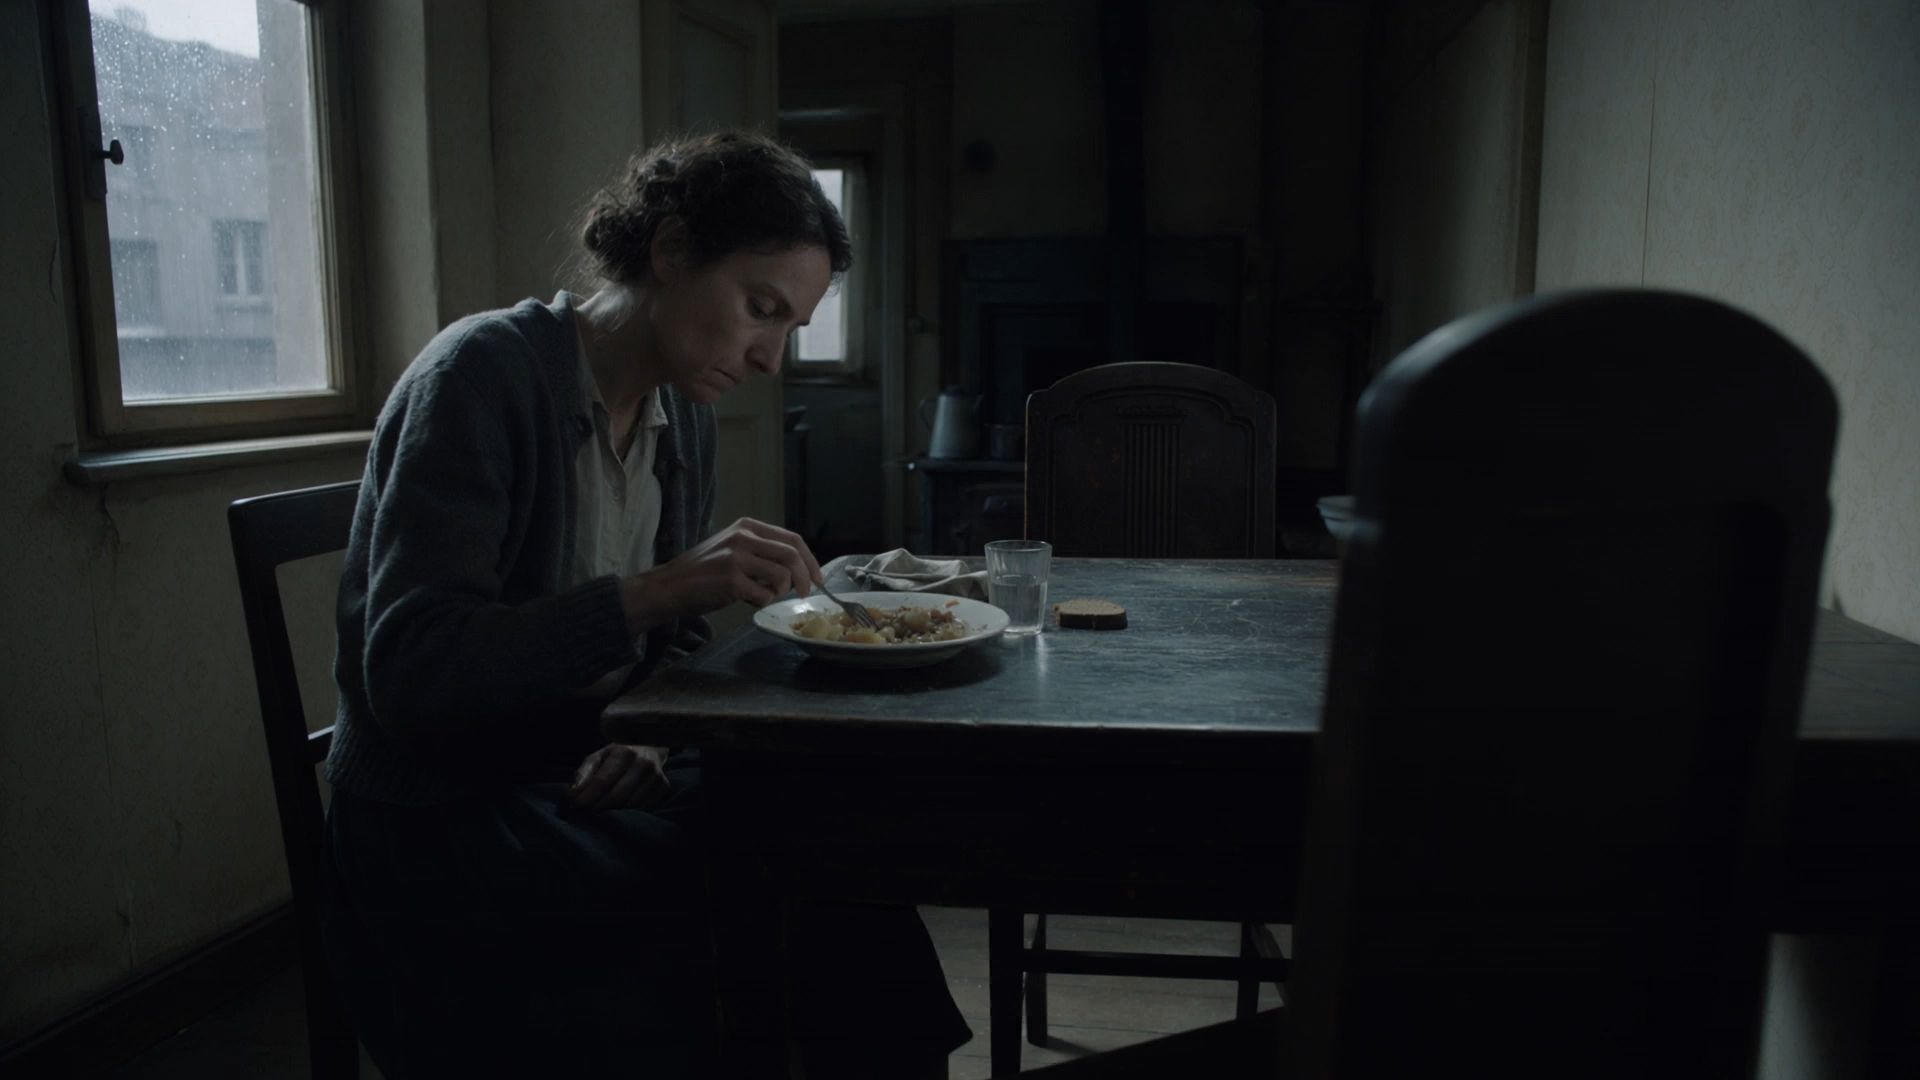
A well-planned sequence should avoid giving the model conflicting instructions. If a character wears one outfit in your reference image but a completely different outfit appears in a keyframe, Kling 4.0 needs to interpret which direction should take priority. The same applies to products, environments, and visual styles.
Before generating, check that your inputs agree on the important details:
Character identity
Product appearance
Scene layout
Visual style
Order of events
Camera direction
When something is supposed to remain consistent, use the same reference logic throughout the sequence. When something is intentionally changing, make that change clear through the keyframe and prompt.
Reference Image | |||
.png?x-oss-process=image/resize,w_1872) | .png?x-oss-process=image/resize,w_1872) | .png?x-oss-process=image/resize,w_1872) | .png?x-oss-process=image/resize,w_1872) |
Generated Result | |||
 | |||
Common Mistakes When Using Multiple Keyframes
Adding Too Many Keyframes
More keyframes do not automatically mean more control. If the visual state does not need to change, another keyframe may not add useful information.
Focus on the moments that matter most.
Changing Too Many Things at Once
A single keyframe that changes the character, environment, product, camera angle, lighting, and visual style at the same time can create an unnecessarily difficult transition. When possible, make changes deliberate and easy to understand.
Using Inconsistent References
If your character, product, or style references conflict with your keyframes, consistency may become harder to maintain. Keep defining details aligned across your inputs.
Writing a Prompt That Conflicts With the Keyframe Order
If the prompt says the product appears at the beginning but your keyframe places the reveal near the middle, the creative direction becomes unclear. Plan the timeline first, then make sure the prompt follows the same sequence.
A Simple Workflow for a 30-Second Kling 4.0 Video
A practical workflow can be kept simple:
Step 1: Define the story
Decide what should happen from beginning to end.
Step 2: Choose the important visual moments
Turn the major changes into keyframes.
Step 3: Prepare consistent references
Add character, product, scene, or video references where needed.
Step 4: Write the transitions
Use the prompt to explain actions, camera movement, dialogue, pacing, and sound between keyframes.
Step 5: Review the complete sequence
Check whether the important moments happen in the intended order and whether characters, products, motion, and visual style remain consistent throughout.
The goal is not to control every frame. It is to give the model enough structure to keep the story moving in the direction you intended.
Reference Image | |||
|
|
|
|
Generated Result | |||
 | |||
The all-new Kling 4.0 will officially launch in October. As part of the Kling 4.0 lineup, Kling 4.0 Flash became available to a limited group of users for early access on September 28.
Final Thoughts
Multiple Keyframes are more than a way to add extra images to a generation. Their real value appears when a video becomes longer and more complex.
By combining up to 10 keyframes with native 30-second generation, prompts, and Omni Reference, Kling 4.0 gives creators several ways to control both what stays consistent and what changes over time.
For product videos, short narratives, ads, and other structured content, that makes it easier to move from a loose idea toward a video with clearer timing, progression, and visual direction.
Kling 4.0 is coming soon. Kling 4.0 Flash and the all-new creation page are gradually rolling out for early access.
Frequently Asked Questions
How many keyframes does Kling 4.0 support?
Kling 4.0 supports up to 10 keyframe images within a single generation. You can use them to define important visual states and story moments along the timeline.
Can I choose when each keyframe appears in Kling 4.0?
Yes. Multiple Keyframes are designed to give creators more control over important visual moments and their placement within the video timeline.
What is the difference between Multiple Keyframes and Start & End Frames?
Start & End Frames define the opening and closing visual states of a video. Multiple Keyframes extend that control by allowing you to define additional visual moments between the beginning and end of the sequence.
Can I use Multiple Keyframes with Omni Reference?
Yes. Keyframes can work alongside Omni Reference. Keyframes help define how the video progresses over time, while reference images, videos, subjects, and voice references can guide identity, appearance, motion, style, and other creative details.
How long can a Kling 4.0 video be?
Kling 4.0 supports native video generation from 3 to 30 seconds.
Do I need to use all 10 keyframes?
No. Use keyframes only when they help define an important visual change or story beat. A simpler video may need only a few keyframes, while a more complex sequence may benefit from more.